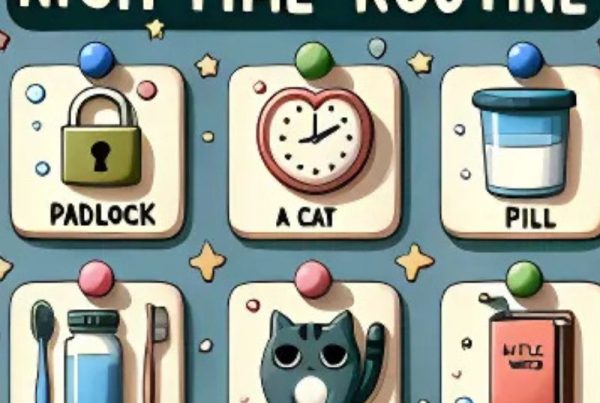
A choice board is a simple visual that shows your child two or more options, so they can point to, look at, touch or hand you the one they want. It works for toddlers and older kids alike, and it is especially helpful for children who find it hard to say or sign a choice in the moment, including non-speaking children and AAC users. In the short video above, you’ll see how to make one in minutes with pen and paper.
Why choice boards help
CHOICE BOARDS As parents of kids with Autism, we want our children to have an equal opportunity to express their choices, like:
- The food they want to eat (our food communication cards are a ready-made option)
- The clothes they want to wear to a birthday party
- The game they want to play, or
- The TV show or video they want to watch
But many autistic kids find it really hard to communicate their choices in the moment. And when we pick something that doesn’t suit them, you know very well what can follow.
Tantrums, meltdowns and distress. That distress is communication: your child is telling you that this matters to them. It’s hard for you, and hard for your little one too. Many autistic adults say that being given real choices as children made a lasting difference; our Autistic Adults Experiences masterclass explores what they wish their parents had known.
But what if there was another way? Choice boards can help. In this video, Autism 360 Coach Ella Bailey shows how you can use simple choice boards using pen and paper.
She uses the example of “Favorite TV show”, but you can use this strategy for anything that involves making a choice. Making choices is also an early step in building independence and life skills.
How to use a choice board with your child: start with just two options your child already likes, using photos, drawings or real objects. Hold the board at their eye level, name each option while pointing to it, then wait. Your child can point, look, touch, hand you a picture or say the word, and all of these count as a choice. Honor the choice straight away so your child learns that their communication works. Once two options feel easy, you can slowly add more.
How to use this with your child
- Pick a calm moment to introduce it. Start with a fun, low-pressure choice (a snack or a show), not in the middle of a hard moment.
- Make the board. Draw or stick two pictures on paper or card. Real photos of the actual items often work best for younger children.
- Model it first. Make your own choice on the board (“I choose apple”) so your child sees how it works.
- Offer and wait. Point to each option, name it, then pause for 5 to 10 seconds. Any clear response counts.
- Honor the choice right away. Hand over the item or start the activity so your child learns their communication gets results.
- Build up slowly. Move to three or four options, then use the board across the day (meals, play, clothes, outings).
- If your child pushes the board away, that is a choice too. Try again later, use favorite items or real objects, or offer “something else” as an option.
Tips and variations
- Laminate the board and use Velcro dots so you can swap pictures quickly.
- Keep a small board on the fridge for snacks and a travel-sized one in your bag.
- For AAC users, put the same symbols on the board that your child uses on their device.
- Include a “finished” or “something else” picture so your child can say no.
- Only offer choices you are happy to give, so every choice can be honored.
- Pair it with a token board when the chosen activity is the reward for finishing a task.
Choice board FAQs
What age are choice boards for?
Any age. Toddlers often start with two real objects or photos, and older kids and teens can use written lists or symbols.
What if my child speaks?
Choice boards still help when speech is harder, for example when your child is tired, excited or overwhelmed.

I am Ash and I celebrate Neurodiversity! Growing up with an elder brother with severe Autism was tough – but it has also taught me essential life lessons. I don’t believe that people with Autism are necessarily or have any disorder (except in extreme cases). They are just different! And that is something to be proud of! I am passionate about helping other families who may have Autism conditions in their family. So please reach out and drop me a note. I will be glad to help 🙂